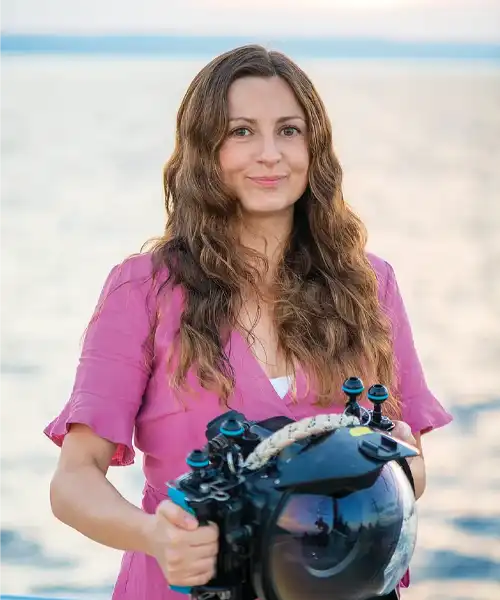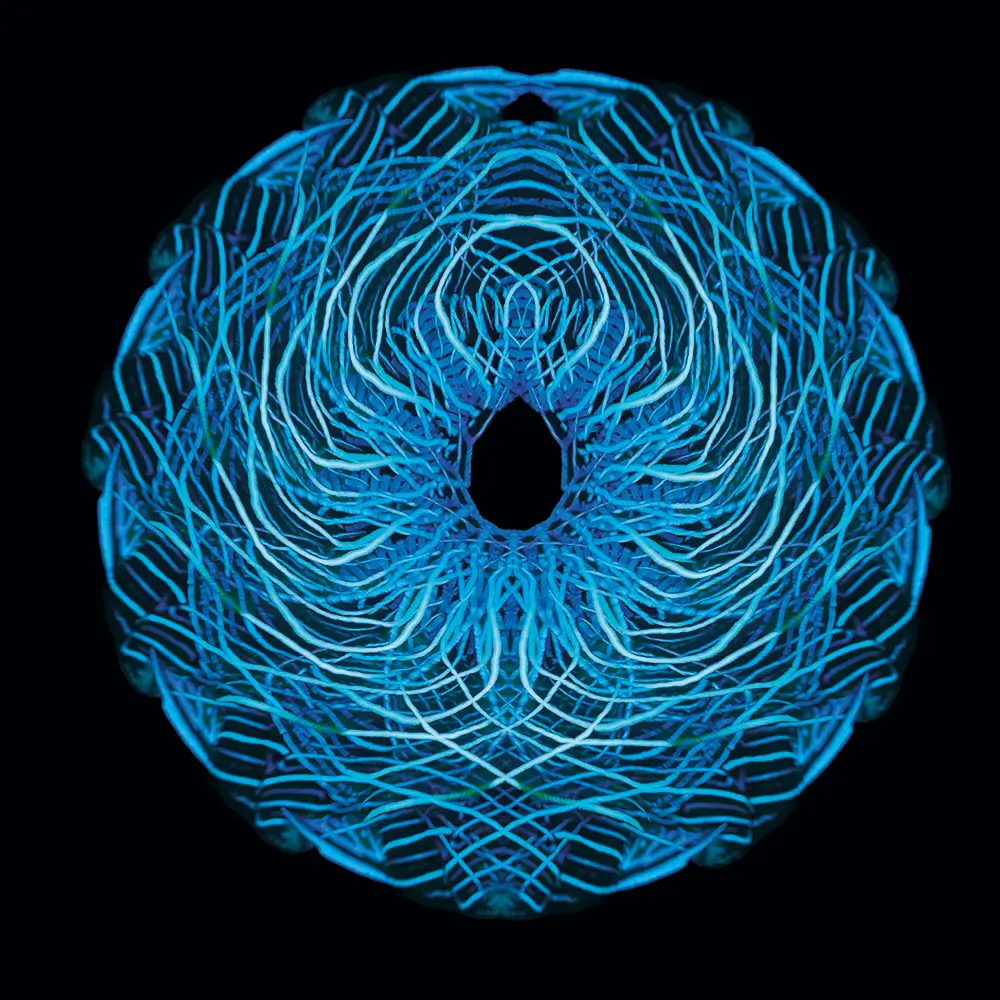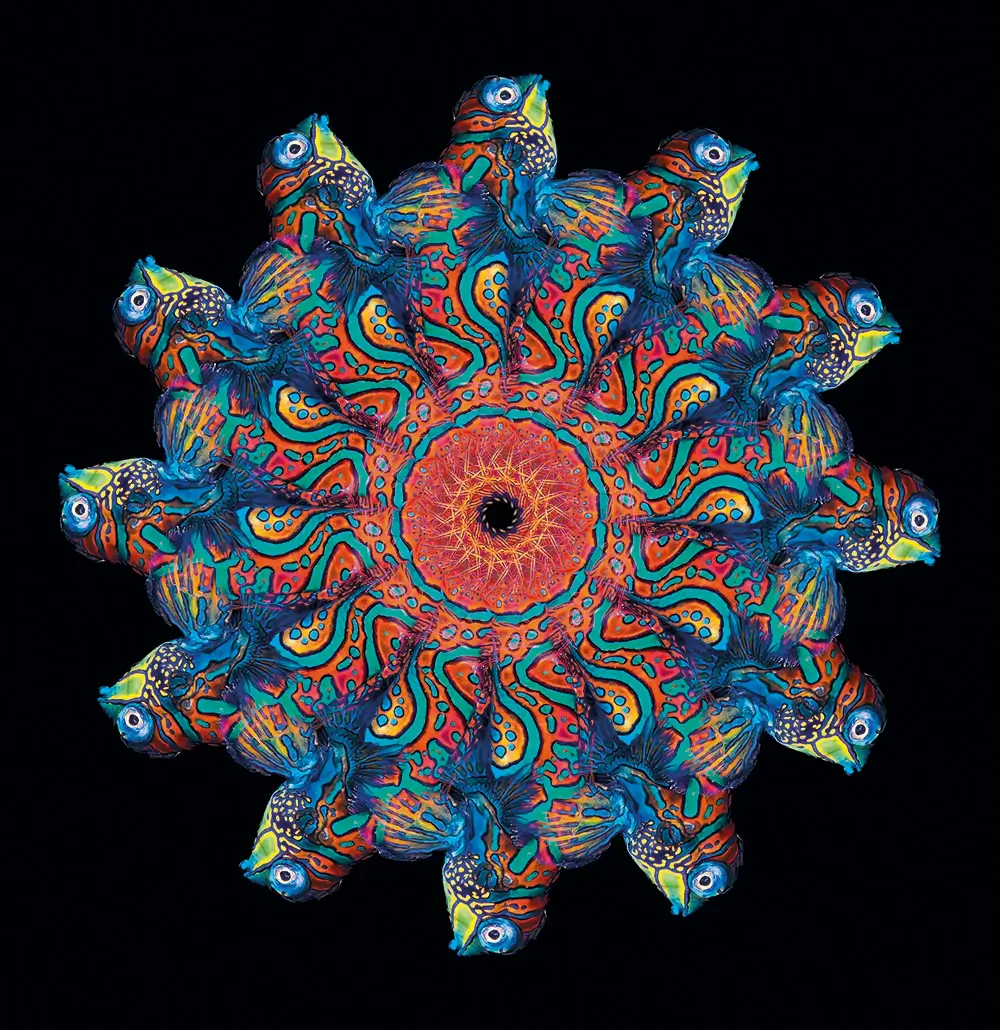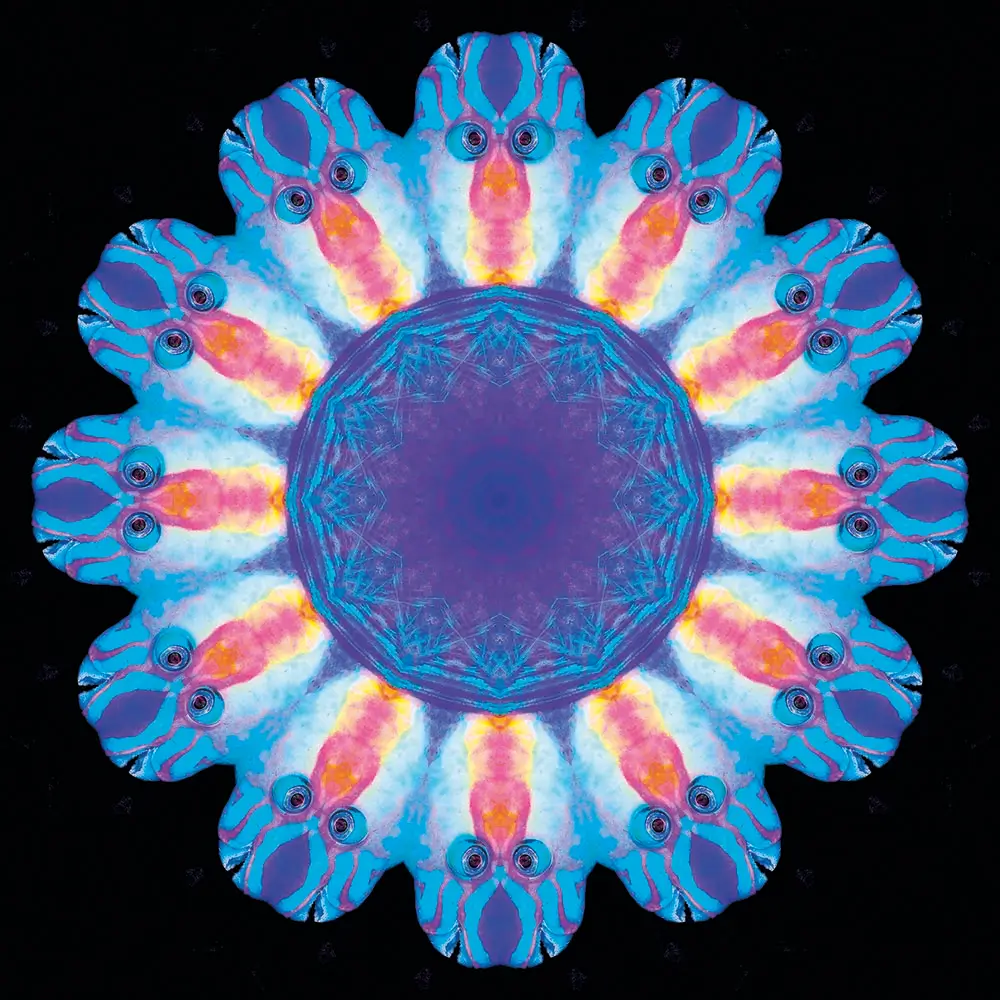
Award-winning photographer and DIVE’s Big Shot winner, Jenny Stock on how to take your underwater photography to new levels, plus a step-by-step guide to making kaleidoscope images.
By Jenny Stock
When an image captures my attention on Instagram, I hope for a geotag because it fuels my imagination with regard to the painstaking effort that individual took to get their image.
An uncomfortable ‘excess baggage’ conversation at a check-in desk; a cramped flight with grotty food eaten from a flimsy, wilting plastic tray; a confused, sweaty, airport arrival followed by a sharply contrasting, freezing-cold taxi ride courtesy of blasting aircon; a sleepy yet concentrated assemblance of diving equipment, negotiating knitted clumps of charging cables; a breezy dingy ride presided over by the beautiful smiling faces of dive staff and deliverance to a remote dive site.

Splash! Immersion and finally the moment the photographer meets their target – a stunning animal in its natural habitat. Click!
Once you have your shot, there are still so many places you can go with your image. All you need to do is journey with your creative mind.

We can all do this, everybody is inventive. Creativity isn’t mystical, it’s more like a muscle, and there are ways to train it. Scientific research has proven that during creative moments, two parts of your brain need to talk to each other.
The default-mode network is activated when we are internally centred, as when you are daydreaming. That’s when you come up with the ideas. However, when we start to focus on a task and evaluate those ideas we start using our executive control network.
This part of the brain evaluates which ideas have potential. So, we need the first brain network to help us create, and the second one to judge which ideas are good. Studies show that these two networks are strongly connected in the brains of highly creative people.

It is said ‘there’s no such thing as an original idea’ but creation often occurs with the weaving of two concepts. Early in my career I worked in Format Development at the BBC. A programme exec who created long-running classics (Strictly, Bake Off, QI) explained that inspiration often came from brainstorming meetings which adopted ‘idea mashing’.
One such session began with the simple coupling of two words picked out of a hat – Castaway and Celebrity were plucked and I’m a Celebrity Get Me Out Of Here was born.
Last year’s Kaleidoscope Big Shot challenge in DIVE (see Issue # 32) was fantastic because it gave me a prompt to work on, and I could apply the idea-mashing technique to the words ‘Underwater’ and ‘Kaleidoscope’.

My advice to anyone who is looking for inspiration for their photographs is don’t just stick to photography. Gorge on all of the arts – film, theatre, galleries, architecture, television, computer games, sumptuous food and even music. When something moves you, ask yourself, can I apply this to my photography?
Various crafty outlets feed my imagination. Invariably, they always bring me back to water or the ocean (cue the Moana theme tune).
At nine years old, my best pal and I grabbed pots of sparkly paint and created an underwater mural of sharks, fish and seaweed on my bedroom wall.
For my theatre studies final project in college, I created a twenty-foot-long, carnival-fish puppet, built on a skeleton of plastic piping that I glue-gunned together.
It was adorned with shiny lengths of turquoise material that I’d bought from a sari dress shop in Bradford. I constructed it at home, then on the day before my exam I realised I couldn’t fit it in my car so I had to hire a van to get it there.

Friends and family receive my painstakingly made pop-up cards. Last Christmas it was a biting great white shark. These can take up to ten hours of construction, with a mix of card architecture, marbling, lino printing and sewing.
I’m sure they leave the recipients perplexed as to why they have received such a child-like gift. But make no mistake, they are made and given with love.
My message is: get creative as everything feeds your imagination. Creativity is simply combining things in new ways, so the more you expose yourself to interesting raw material, the more you’ll have to work with.
While sitting at my computer looking at images with Lightroom and Photoshop open, I’m never quite sure where my RAW files are going to take me. I’ve been incredibly lucky, many of my photographic outputs have won competitions.

I’m often asked about the techniques I have used to make these images, and I’m happy to share in the easy-to-follow, step-by-step guide to creating your own kaleidoscopic images further down this page.
Give it a go. If you create something, I want to see it! Please tag me on Instagram @jenniferjostock and @divemag.
When picking your subject, bright, small animals work well, such as colourful fish or vivid nudibranchs. Watch our video guide at the end of this article to see the process in action and if you’re stuck, you can always contact me.
– Jenny Stock

KALEIDOSCOPE IMAGE STEP-BY-STEP GUIDE
- In Lightroom, choose your subject and isolate it within a black background. Open your tightly cropped image in Photoshop.
- Clean your subject and clean the backscatter.
- In the layers menu, unlock this layer.
- Create a solid colour fill layer of black. Move this to the bottom layer.
- In the menu bar, go to ‘Image’, then go to ‘Canvas Size’ and increase your canvas to a large square – I recommend 10,000 x 10,000 pixels.
- In the layers menu, click on your top subject layer and move your subject to the right-hand side of the canvas.
- Select your subject, and duplicate it (⌘ + J ) (or Windows CTRL + J).
- Select your new duplication then press ( ⌘ + T ) (or Windows CTRL + T). Once selected, look at the grey popup window below it. Click on the first
double arrow, and this will mirror this top layer. - Slide this top layer to the left until it is right next to your original image.
- Merge your top two layers by merging down the top layer.
- Move your new mirrored image layer to the middle of your canvas.
- Duplicate this mirrored image (⌘ + J ) (or Windows CTRL + J).
- Select the new duplicate (⌘ + T ) (or Windows CTRL + T).
- On the top menu bar, an angle sign gives you the option to enter a number. Type in 60 to rotate this layer 60 degrees.
- In the bottom right layers menu, select ’lighten’ as your blend mode.
- Again, duplicate your top layer (⌘ + J or Windows CTRL + J). Select the new layer but this time rotate it in the angle option to -120 degrees. Layer it via lighten mode again.
- Flatten the image and you should have your kaleidoscope! If you want a more dramatic effect, you can keep repeating this process.
More great reads from our magazine
- Working Together – saving sharks and rays in Indonesia
- Mexico’s Tren Maya is destroying Yucatán’s cenotes
- Working Together- Mexico’s bull shark dives
- Nitrogen Narcosis – beware the rapture of the deep
- The ride of your life! Scootering with Maldives grey reef sharks

Click here for a full subscription or single issue
- From chilled to thrilled – a review of Venture Heat Europe’s heated vest - 18 December 2025
- Review – Suunto Tank POD wireless transmitter - 16 December 2025
- Treasure Islands – Turks & Caicos with Aggressor Adventures - 14 November 2025


