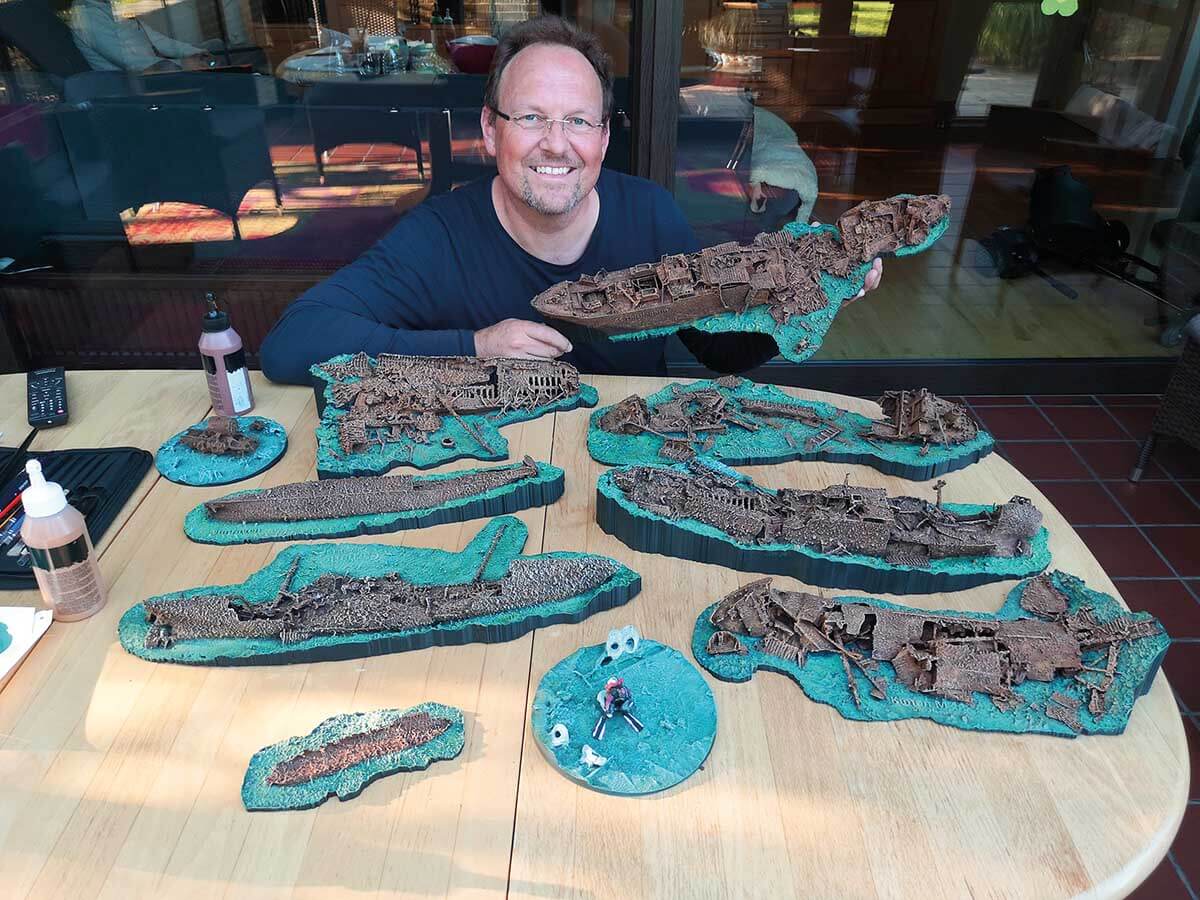
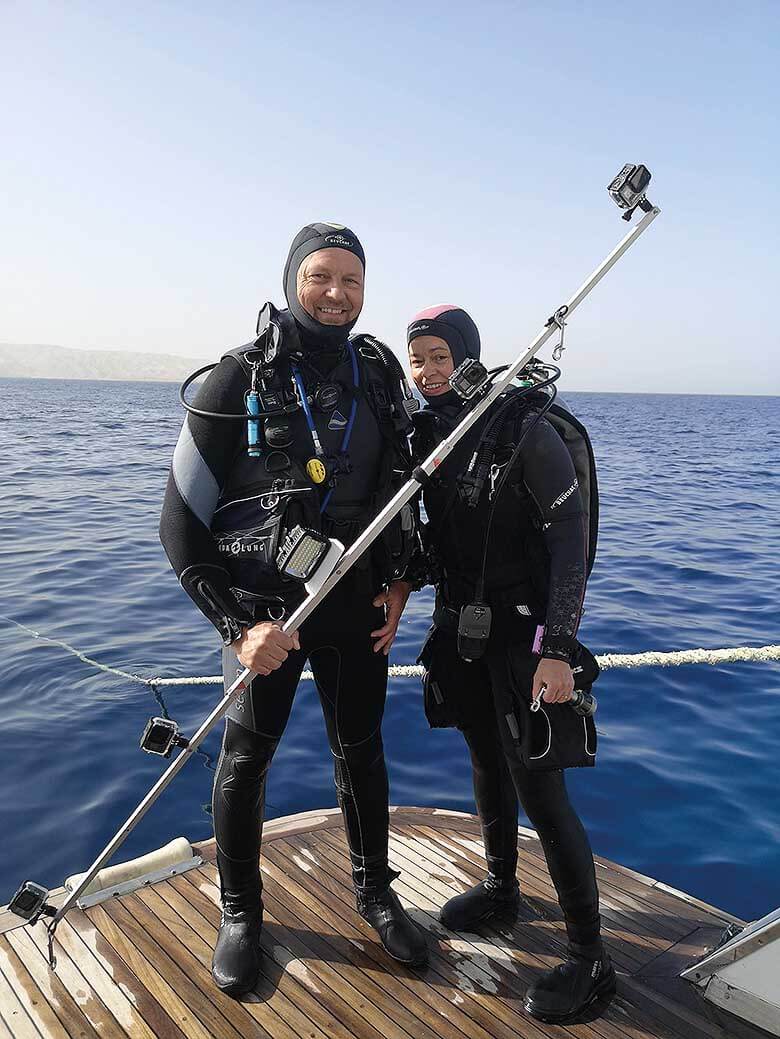
Holger and Nicola Buss are divers on a mission. On a Red Sea liveaboard trip they plan to photograph, map and digitise every wreck they dive and then create detailed 3D-printed scale model replicas
It is the end of March 2022 and my wife and I are on a plane heading for Hurghada, Egypt, to join – as we have many times before – a liveaboard. But this time is different – we are on a mission. We plan to capture a digital record of each wreck we dive and then turn those into detailed scale models on a 3D printer.
We don’t want to disrupt the diving of the other guests aboard the Blue Pearl and want to carry out our mission with as little fuss as possible, sticking to the usual schedule and diving along with everyone else. We have decided not to tell anyone about our project when we get onboard – if it goes haywire, we don’t want to embarrass ourselves.
When assembling the diving equipment after arrival, I do, however, attract some attention as I set up two extra 12-litre tanks with regulators. ‘Oh, how long do you want to stay down there?’ asks one of our fellow divers. ‘About an hour,’ is my response. ‘I just need a lot of air.’ A pitying shake of the head is the prompt reaction, coupled with: ‘You really need to work on your breathing! Or on the dive style!’
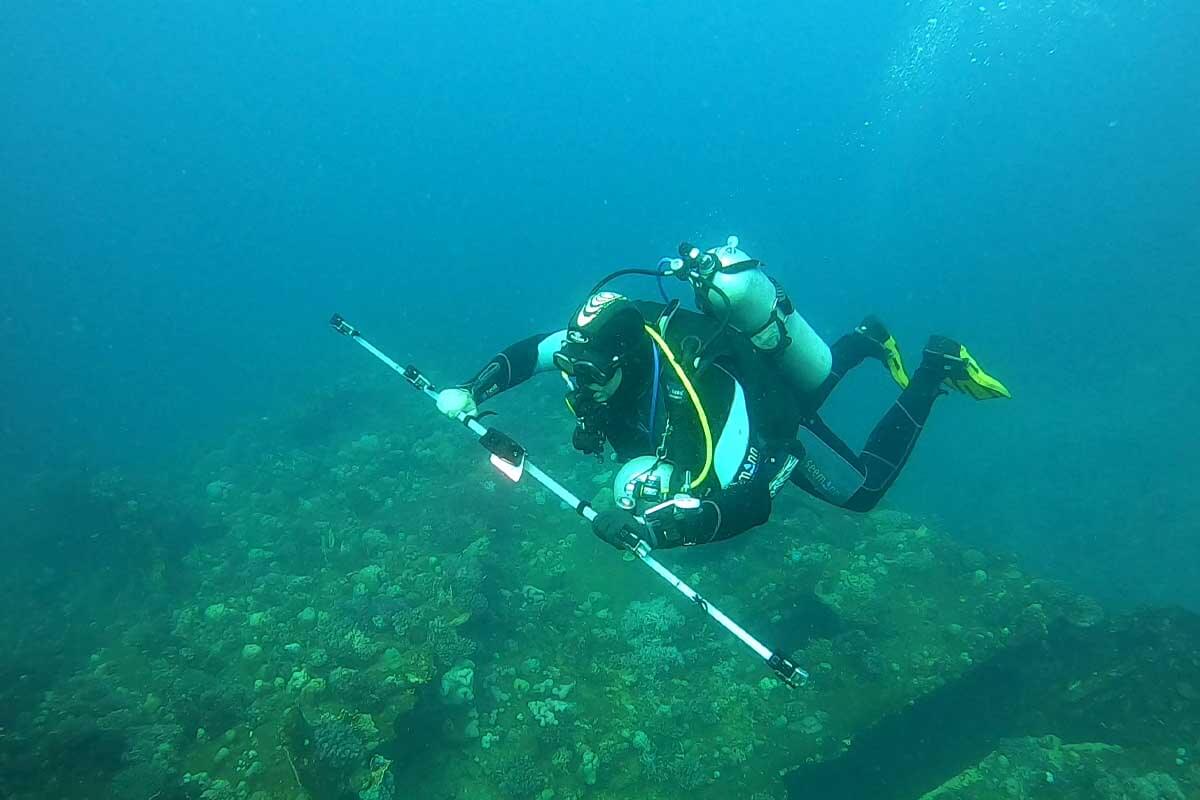
I take all the tips on air consumption with good grace. On the check-out dive the next morning – with my stages, of course – I also reveal my unusual camera setup, invented and built by me. It consists of three aluminium tubes that can be put together like a tent pole. It has an elastic band inside that holds the whole thing together. Mounted on this are four action cameras in underwater housings, and a lamp in the middle.
‘What is that? Why so many cameras?’ asks fellow guest Judith.
‘For filming from two different perspectives. And with redundancy!’ I answer.
‘Well, there goes the low profile!’ my wife Nicola says, grinning. ‘What will she say when you unfold that thing?’
Because unfolded, the frame is just over two metres in length! This simple and cheap setup has already proven to be an amazingly effective tool on my previous wreck-filming projects. For travelling to Egypt I had redesigned it to fit into a suitcase and it now has only one lamp instead of the three I use in the low visibility of the North and Baltic Seas.
Most systems for carrying out photogrammetry (the mapping of an object using photographic images) only use one camera, and shoot the subject from a number of angles. However, for capturing wrecks, I found that the stereoscopic effect of using multiple cameras in tandem is far easier when filming underwater.
I could do it with just two cameras, but carry a further pair in case things go wrong. Memory cards, camera batteries and ‘buggy’ firmware can really mess up your day – especially if you only get a single chance to scan a wreck.

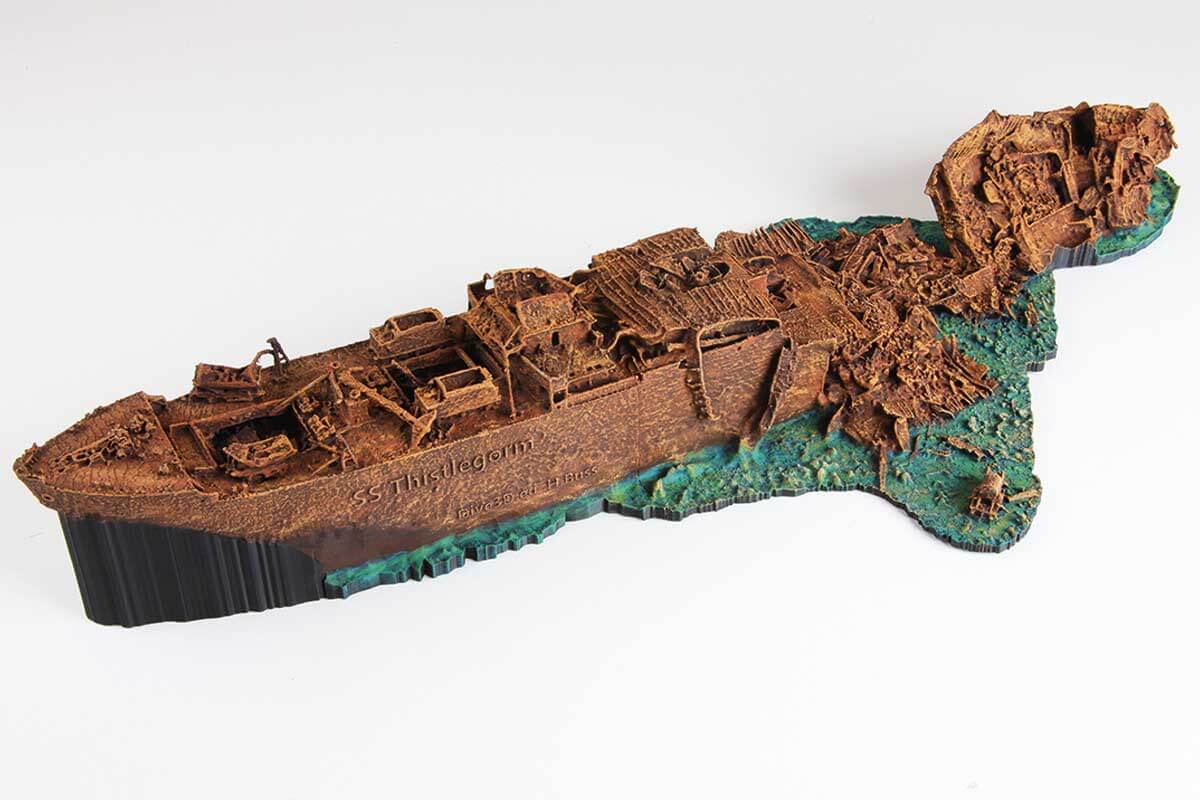
Our first wreck is going to be the Thistlegorm. I was hoping would start with an easier and smaller wreck. But the weather conditions meant this iconic dive was going to be our first attempt. After lunch there is a detailed briefing from dive guide Ashraf. He tells us that current and visibility are below average, and his plan is for the group to concentrate on the cargo such as motorcycles, trucks and guns inside the wreck.
Not an option for us, so we go our own way. When diving down the shot-line we soon realise the current has picked up because we are hanging on the rope like little flags. After a straightforward descent, we arrive at the bottom at the ruined part of the wreck. I unfold the camera frame and start the GoPros. Surprise, surprise, one doesn’t work. Did I mention the redundancy thing?
I start the scan. I dive, meandering over the wreck. First across, and then lengthways. Well, at least that’s the plan. But it doesn’t work in practice because the current makes life difficult. While I blow a lot of air on my way over the front part of the ship, Nicola holds on to the wagon of a locomotive and watches the spectacle. After 20 minutes my stage is already empty and I swap bottles with Nicola. This is hard work. But if the Thistlegorm is to be printed, then there is no other way: we leave the site tomorrow.
The Thistlegorm’s bow section is really tricky to scan. I cannot have any gaps in the scan. All the surface areas that will later form the contours of my print have to be mapped. After 55 minutes we are back on the ship. All four bottles are empty. ‘Unbelievable! You really need to work on your air consumption!’ is the general reaction of my fellow divers.
I copy the videos and start the process of the 3D generation on my laptop. Unfortunately, the night dive is cancelled because the current has increased. Over dinner, I accept more tips for air-consumption, with polite nods. The alarm clock rings at 5:00 the next morning – to the chagrin of my wife, who pushes me out of bed growling.
Before the early-morning dive, I decide to look at the results of the first scan. The PC had been calculating all night and the result is already quite decent. The bow section of the wreck is almost complete. The superstructures, masts, locomotive trailers, cranes and the loading hatches have become nice and sharp. Even the anchor winch with chain can be clearly seen.
The first early risers with coffee cups have gathered around me. ‘Ahhh! Now! So that’s why…!’ The other divers are blown away.
‘Wow, exciting! Is there anything we can do to help you?’ asks Ashraf, the guide. ‘Yeah, it would help if everyone knew what I am doing and, if possible, gives me a clear view of the wreck.’
The next dive at the Thistlegorm goes much better than the first. All the cameras even work! The current has decreased so much that I can scan the stern with the huge propeller and the two cannons. Again and again I overtake or cross the other diving teams from our boat. I earn the nickname ‘Speedy Gonzales’. The question of high air consumption never comes up again.
I dedicate the last Thistlegorm dive to the destroyed central area with the tanks and the locomotive on the port side. After the third dive, it’s done, the Thistlegorm is in the box. I have to process the data sets later on my home PC. Neither the time nor the computing power I have onboard is sufficient for the entire wreck. At around noon the ship sets off towards Abu Nuhas.
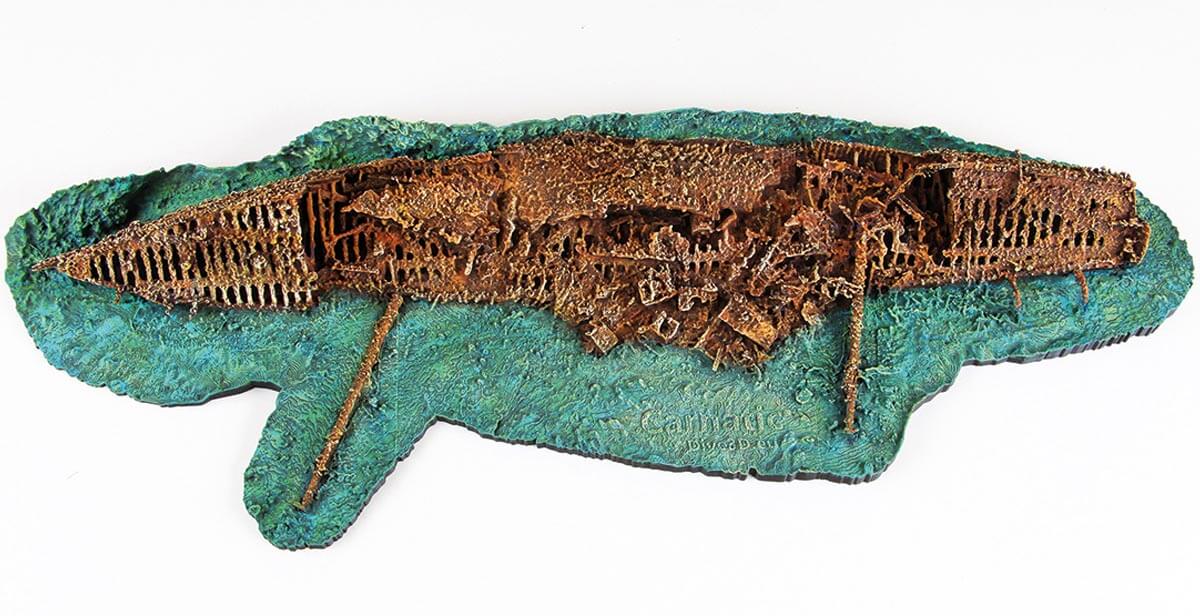
Eight more wrecks are waiting during the next few days. Apart from the Thistlegorm, Nicola and I had to scan all the other wrecks in just one dive each. That was quite an exercise, because most of them are 100 metres long. At the end of the week Nicola and I had generated 850GB of data.
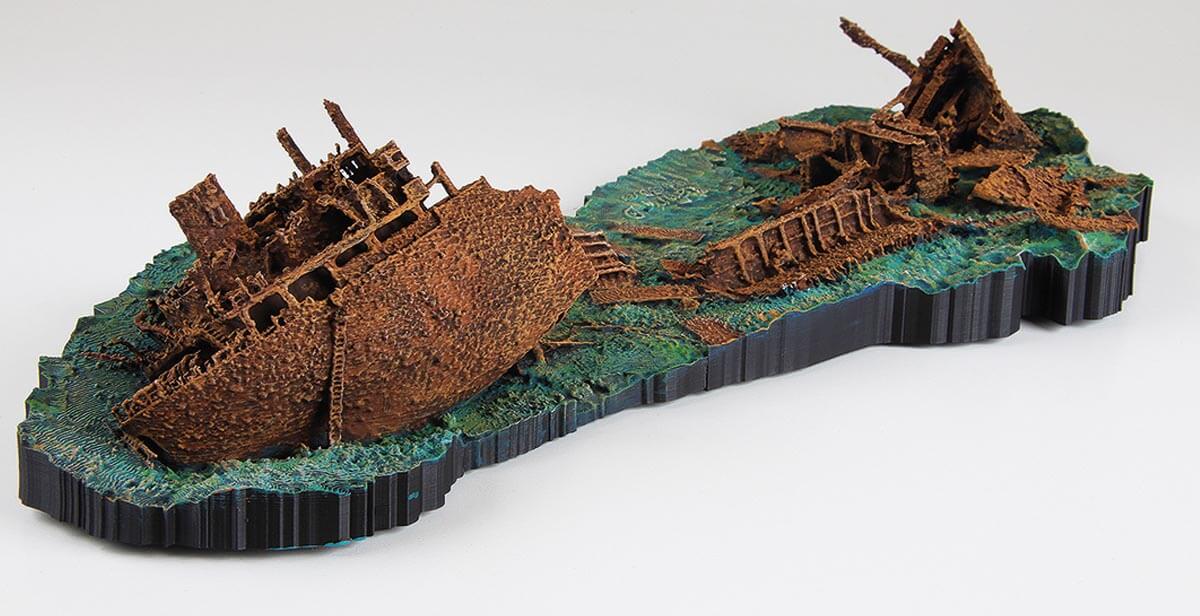
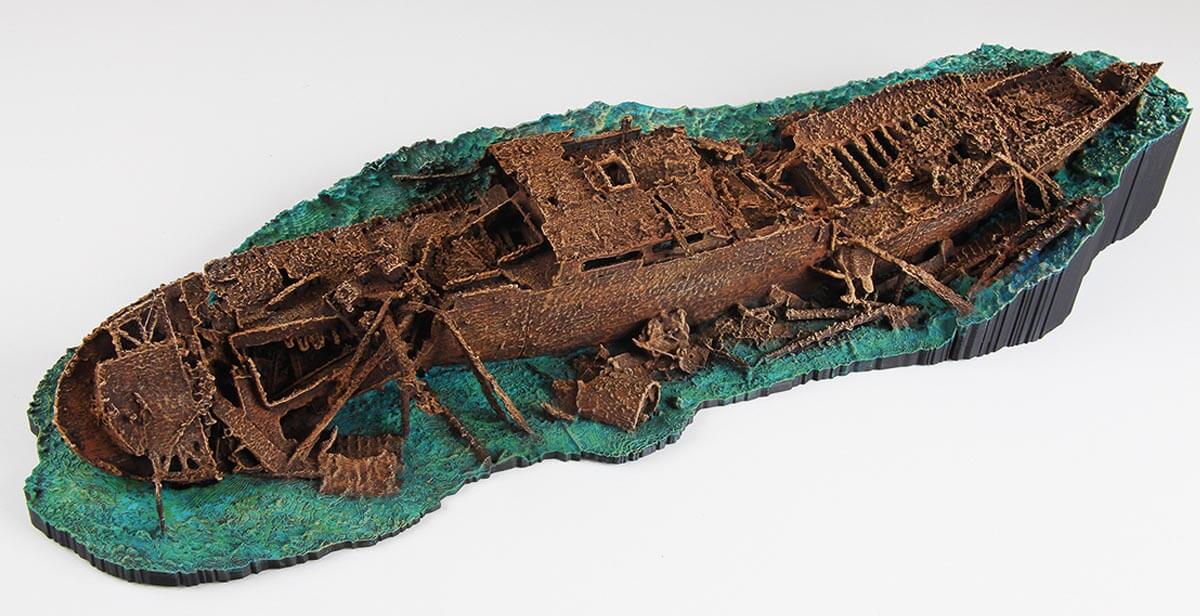
At home, the hard work began a few days later. I started with the wreck of Giannis D. Scanning this wreck had not been very difficult, because there was no current. The only thing is, that the area is quite big – probably 120 by 25 metres.
The video sequences of four cameras are broken down into 8,590 still images. After that, the images are viewed, and divers and stray fins are removed. Then I start the first step of the workflow: ‘Align Photos’. This is the most important step of the Agisoft’s software.
Like a big puzzle, the program goes through all the photos and tries to overlap the edges of similar images. It helps that I had recorded all the objects from two perspectives with the two cameras. The two tracks already overlap from the start. After some hours, the software was able to align almost all of the still images and the first result looks like a blue hedgehog.
Each of the many blue rectangles with a black line represents a successfully matched image. And each image contains a lot of image information, which is displayed as coloured dots in the so-called ‘point cloud’ in a three dimensional space. Then the ‘fine point cloud’ is generated, which is cleaned up manually. Foreign objects caused by fish, divers and air bubbles are removed. In the next step, the program connects the neighbouring points, and a grid of triangles is created. This is the basis of the 3D object.
HOW HOLGER GOT STARTED
As an electrical engineer, Holger develops control systems for autonomous aircraft. In his spare time he has been investigating shipwrecks for a number of years. In 2007, as part of Die Gezeitentaucher (The Tide Divers) he managed to identify a previously nameless wreck for the first time. It turned out to be the steamer Elsa from Rostock which sank in the North Sea in 1932.
Now he concentrates on identifying nameless wrecks in the North Sea and Baltic Sea. A chance find brought him to photogrammetry in 2019. He found a ship’s bell on a wooden wreck at a depth of almost 50m in the Baltic Sea, and decided to first create a digital record of the bell and then turn that into a replica – the original, of course, stays on the wreck.
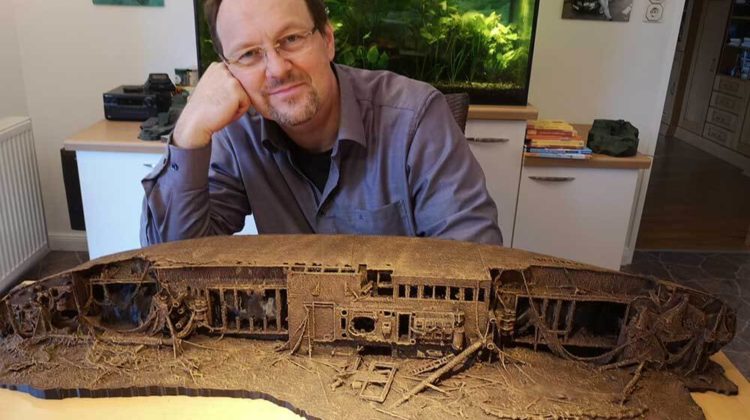
Endless nights followed, with Holger studying online tutorials and the programs Agisoft, Blender, Meshmixer, Slicer, and others. Finally, he managed to print a replica which he exhibited at the BOOT dive show. This was followed by a request from the Maritime Museum in Lithuania for models of some First and Second World War wrecks. Holger developed a camera system to digitise the wrecks in the poor conditions of the North Sea.
‘I have put all the wrecks I have digitised on the web,’ he says ‘And I would be delighted if other people used the files to create their own replicas.’
Go to www.dive3D.eu to find out more.
Little by little, the picture of the Giannis D appears with a wealth of detail and resolution that one could probably never take with a single photo, even with a crystal-clear view. The model can be rotated on the PC and photo-realistic recordings are created using sharpness effects. But the most important thing is still to come: the model has to be prepared in such a way that it can be printed.
In the first step, it must be extruded downwards using Blender software. This automatically creates a base. With Blender you can now rework the model. Structures that are too fine are thickened, and some floating areas have to be supported. I then split the model into three sections because the Giannis D would be larger than the 20x25cm output of my printer.
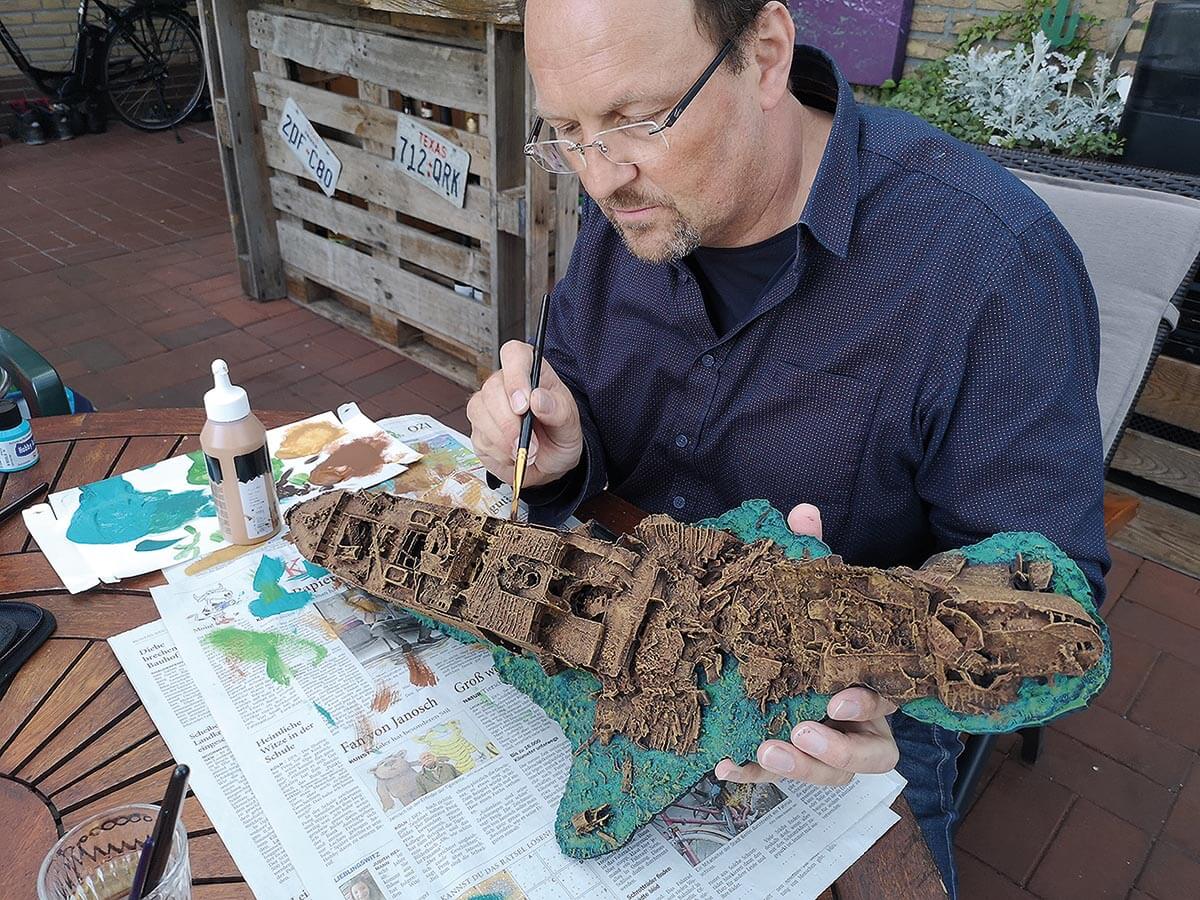
At 55cm, the model has a scale of 1:200 to the 110m long original. On the same scale, a diver would be just 9mm tall. The data for the 3D printer is processed and the print starts. The first segment of the wreck is built up layer by layer. Each of the three sections takes about 20 hours to print. But after three days the time has finally come and the parts can be glued together.
Now I start colouring. First I paint the sandy soil in dark turquoise. This is followed by the hull, in dark brown. The areas that were not scanned remain in black. The primer must be thoroughly dry before the next step. Now, with careful brush strokes, several thin layers of paint follow, which become lighter and lighter. Finally, a light brown transforms the surface into a ‘rust’ effect. In total it took me about four weeks to print and paint all the wrecks.

WHAT YOU NEED
To build a model
- A good 3D printer, which costs around €1,000, or someone who already has one (cost: a crate of beer).
- Approximately one kilogramme of filament material. Cost about €30.
- Acrylic paints from a craft shop. Cost about €25.
- The files from my website: www.dive3D.eu
For photogrammetry
- One or two underwater action cameras.
- The 3D software. Agisoft costs €1,800.
- Software Blender, Meshmixer and Slicer are free.
- A PC or Mac with plenty of processing power.
STEP BY STEP

1
In the first step, the video files are broken down into individual images using the ‘Align Photos’ function in Agisoft

2
The ‘point cloud’ already indicates a good result. It can be cleaned up manually

3
When the points are connected by lines, a grid (mesh) is created

4
With the free program Blender, a base is created and reworked

5
The printing of all individual parts takes about three days
6
Colouring with acrylic paints gives the model the finishing touch
To download Holger’s blueprints to create your own 3D printed wreck, visit www.dive3D.eu

